Although we could can seasonal produce all year, there’s something about the harvest season that has us stuffing and hoarding Mason jars. Some tomatoes remain despite having already passed their prime, while most apples and pears peak. Before the first frost marks a definitive seasonal transition though, we wanted to learn about the best ways to preserve our favorite seasonal ingredients from canning expert and author of Put ’em Up! Fruit, Sherri Brooks Vinton.
Edible Brooklyn: Did you grow up canning? What inspired you to preserve your food?
Sherri Brooks Vinton: I grew up with canners, but it wasn’t until I was an adult and became passionate about supporting local farmers markets that I began to do it on a regular basis. I would oftentimes end up with more wonderful produce than I could eat and scramble to finish it before it was too late. Preserving our own food is a natural connection to local agriculture in that it can enable us to support local farmers while also avoiding food waste.
EB: What do you think the most common mistake is for a first time canner? How can it be avoided?
SBV: The hardest thing is getting started. For whatever reason, canning can seem intimidating for people who have never done it before. Once someone accomplishes one trial, the process is usually demystified and the whole act can become as easy as just boiling water.
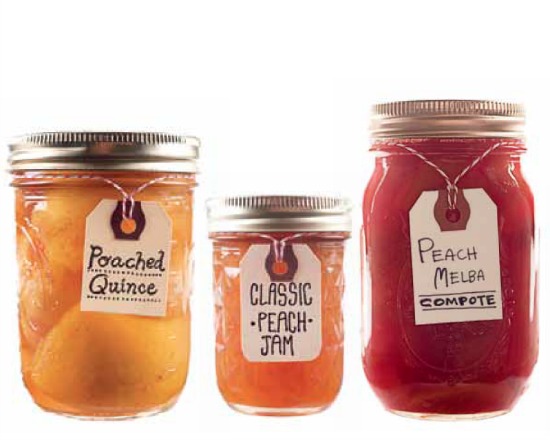
EB: Do you have a preferred jar?
SBV: I always use standard Ball jars since they are very functional, affordable and accessible. I also know that these jars are made in America as opposed to some other brands and that’s important to me, too.
EB: What words of advice or encouragement would you give those who are just starting to can?
SBV: Preserving food has a bad reputation as being dangerous. I agree that there’s not room for improvisation when canning, but as long as one follows the proper steps, then canning can be very rewarding. I would encourage first-timers to think of it as being more like baking than cooking; keep to your measurements and timing and you’re very likely to have a great success.
—
To help you take advantage of pear season, we wanted share one of our favorite recipes from Sherri’s latest book:
Pears Poached in Wine
1 (750 ml) bottle of unoaked red wine, such as Beaujolais
1 cup sugar
1 cup water
4 pounds very firm pears
1. Begin by peeling your pears, and then cut each pear in half.
2. Use a melon baller to scoop out a divet around the seeds.
3. Then you can use a paring knife to carefully cut a small V-shaped trench to the top of the fruit to excavate the vein-like core. It’s a little bit of work, but a neat job makes for really attractive fruit in the jar.
4. Combine the wine, sugar and water in a large nonreactive pot. Add the pears to the pot. Gently bring the liquid barely to a simmer and poach the pears for 5 minutes, until the fruit begins to soften.
5. Using tongs, gently arrange the halves in two quart jars. The pears should fit snugly, but with enough room for poaching liquid to circulate. Ladle the poaching liquid over the packed pears to cover by 1/4 inch, leaving 1/2 inch of headspace between the top of the liquid and the top of the jar.
6. Run a bubble tool along the inside of the glass to release trapped air. Wipe the rims clean; center lids on the jars and screw on jar bands until they are just finger-tip tight. Process the jars by submerging them in boiling water to cover by 2 inches for 20 minutes. Turn off the heat, remove the canner lid and let the jars rest in the water for 5 minutes. Remove the jars and set aside for 24 hours. Check the seals, then store in a cool, dark place for up to 1 year.
For a detailed description of the boiling-water canning method, pick up your copy of Put ’em Up! Fruit.